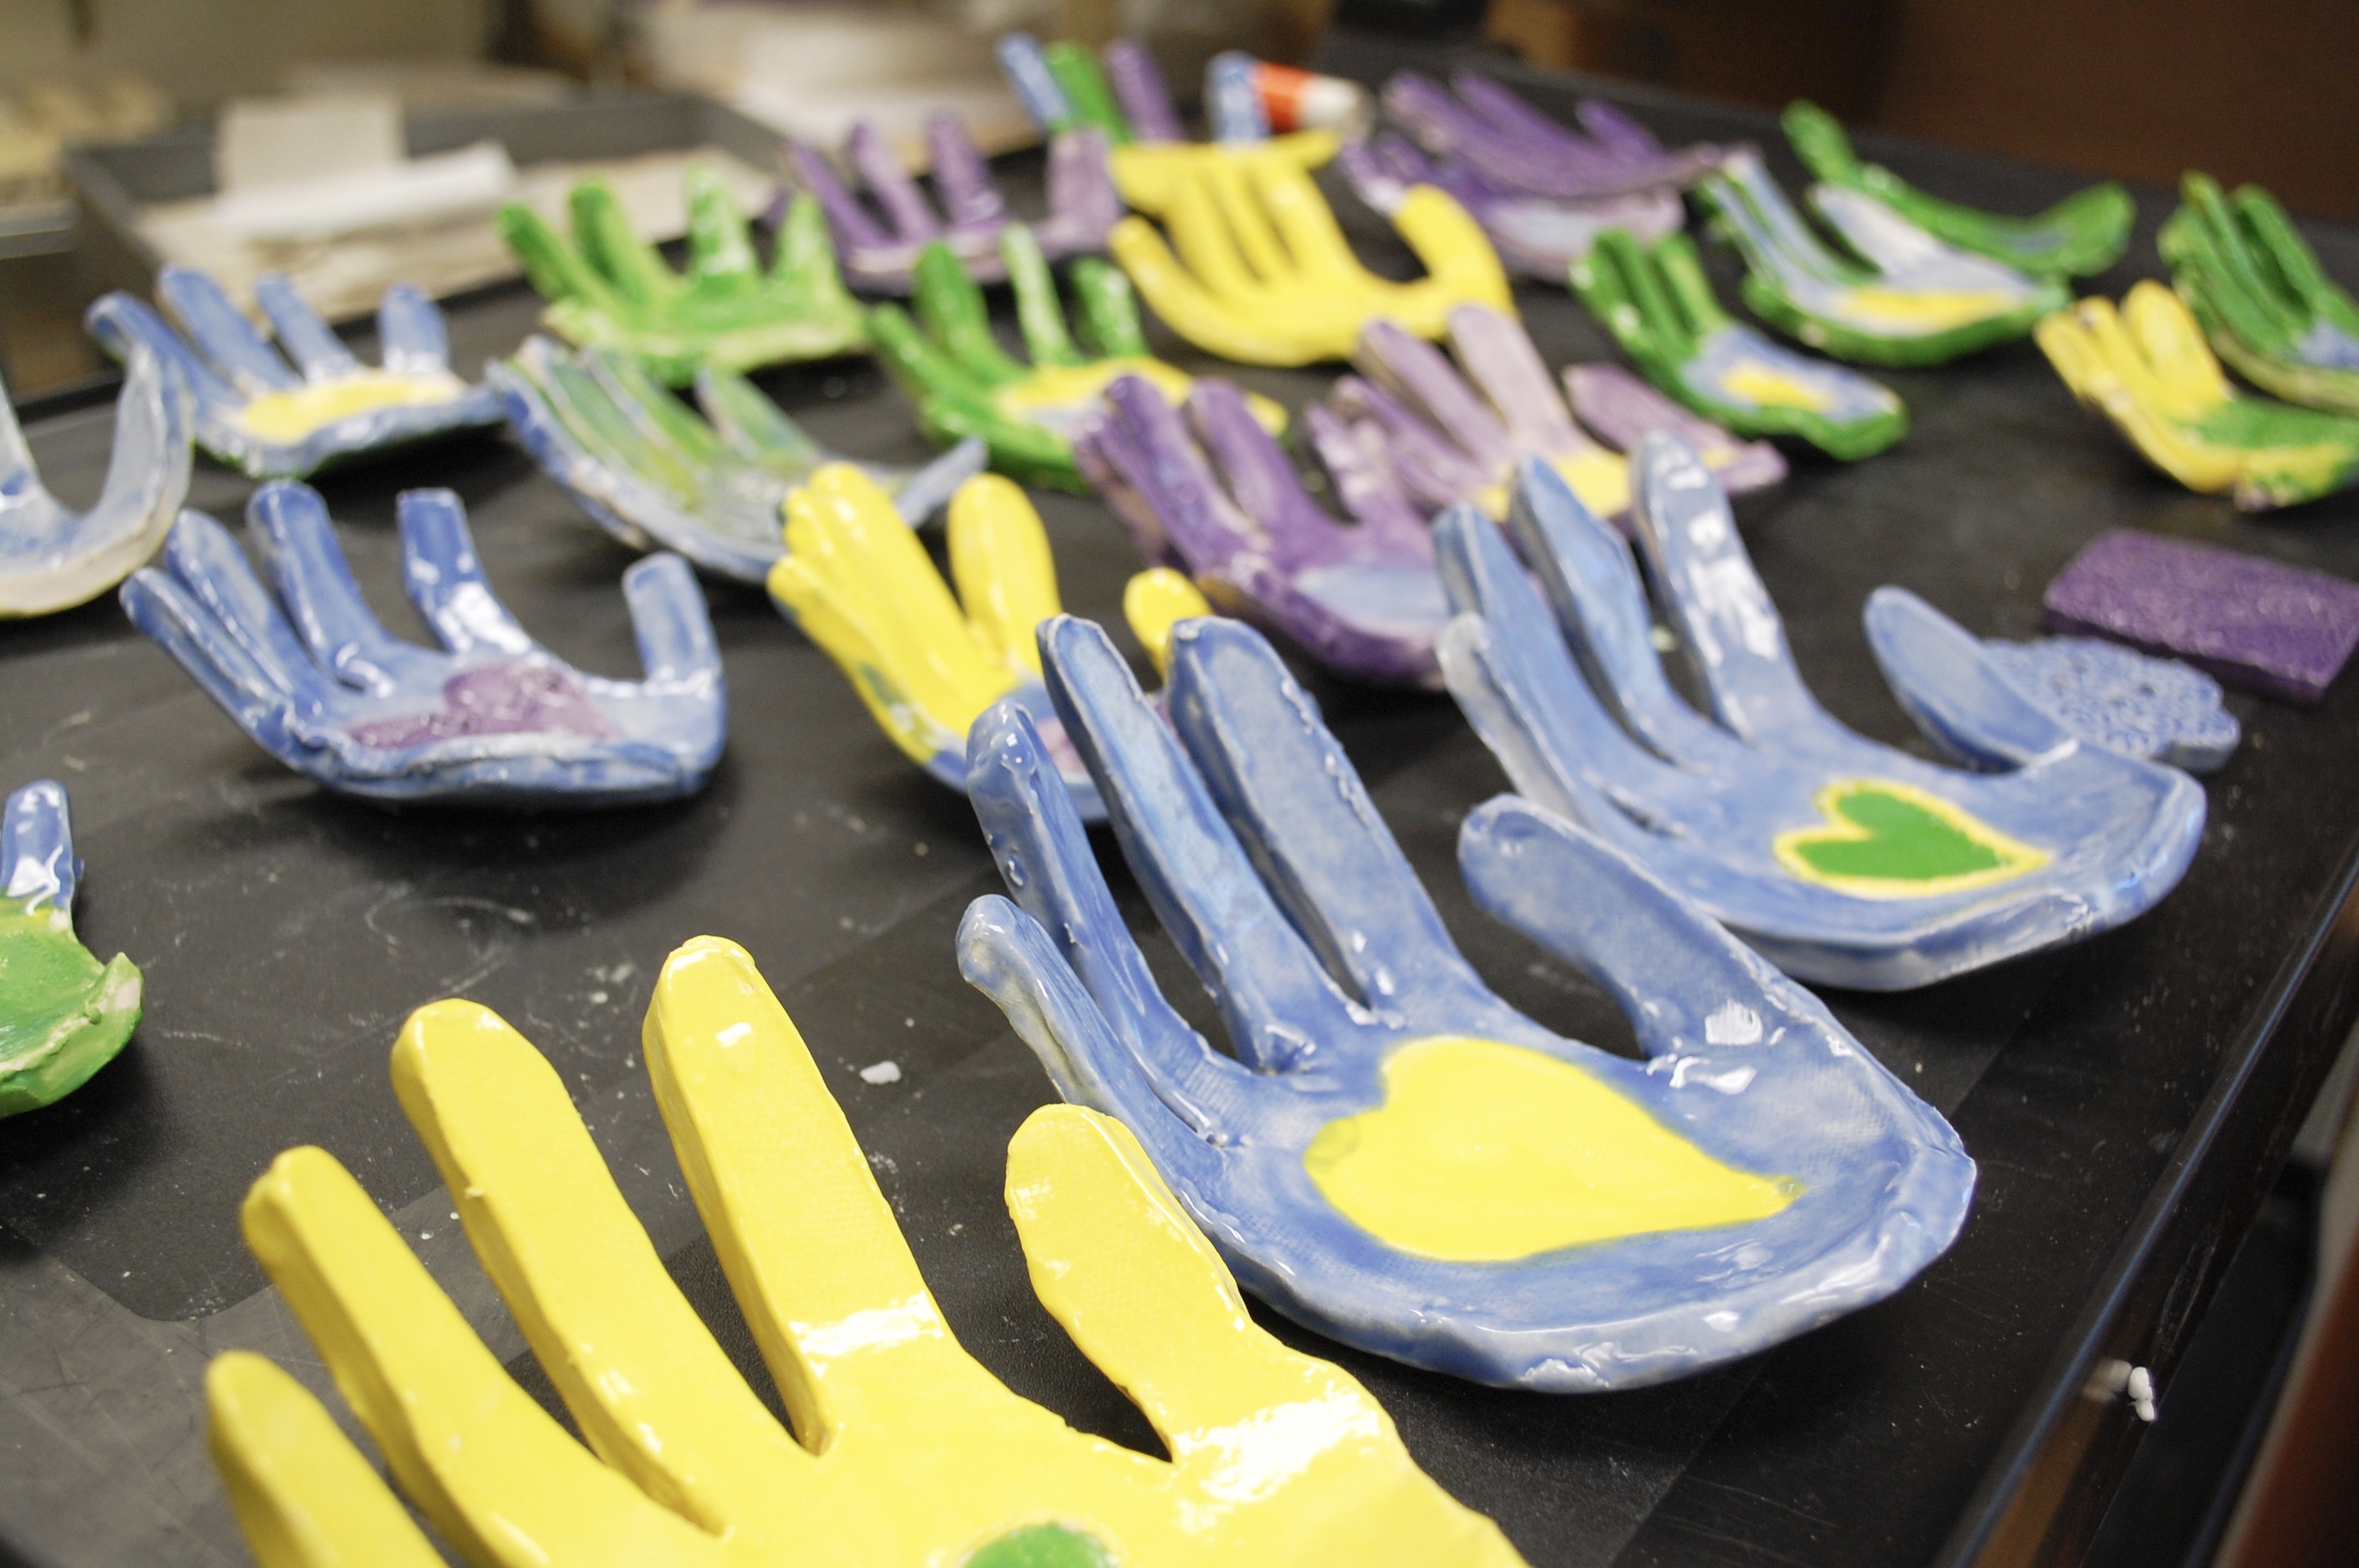
 There is nothing sweeter then these ceramic hand print dishes. I made this project with my daughters kindergarten class with the help of several parent volunteers, but this project is suitable for any age.
Ceramics is a hands-on art activity that can be tied to curriculum at all grade levels and skill range. Through ceramics you have the opportunity to introduce art concepts like shape, texture, perspective, pattern, color, and line. Creating objects of clay make tangible connections to history, culture, science and math.
Ceramics projects will usually take two sessions of 45 to 60 minutes each, with at least one week in between sessions. One session is for shaping the clay, and the other session for glazing.
What you’ll need:
- 25lbs of Low Fire 06 White Clay for a class of 25 (I use this clay from Seattle Pottery)
- Wooden Modeling Tools or skewer (Set of 12 Amaco Tools)
- Plastic knives
- Small cup of water/slip (I use these 2 oz condiment cups)
- Glaze (Mayco Stroke & Coat Wonderglaze for Bisque)
- Paintbrushes (I use these from Royal Langnickel – the 120 pc classroom set is great)
- Plastic Bowls (cereal bowl size)
How to make a ceramic hand print:
Prep your clay
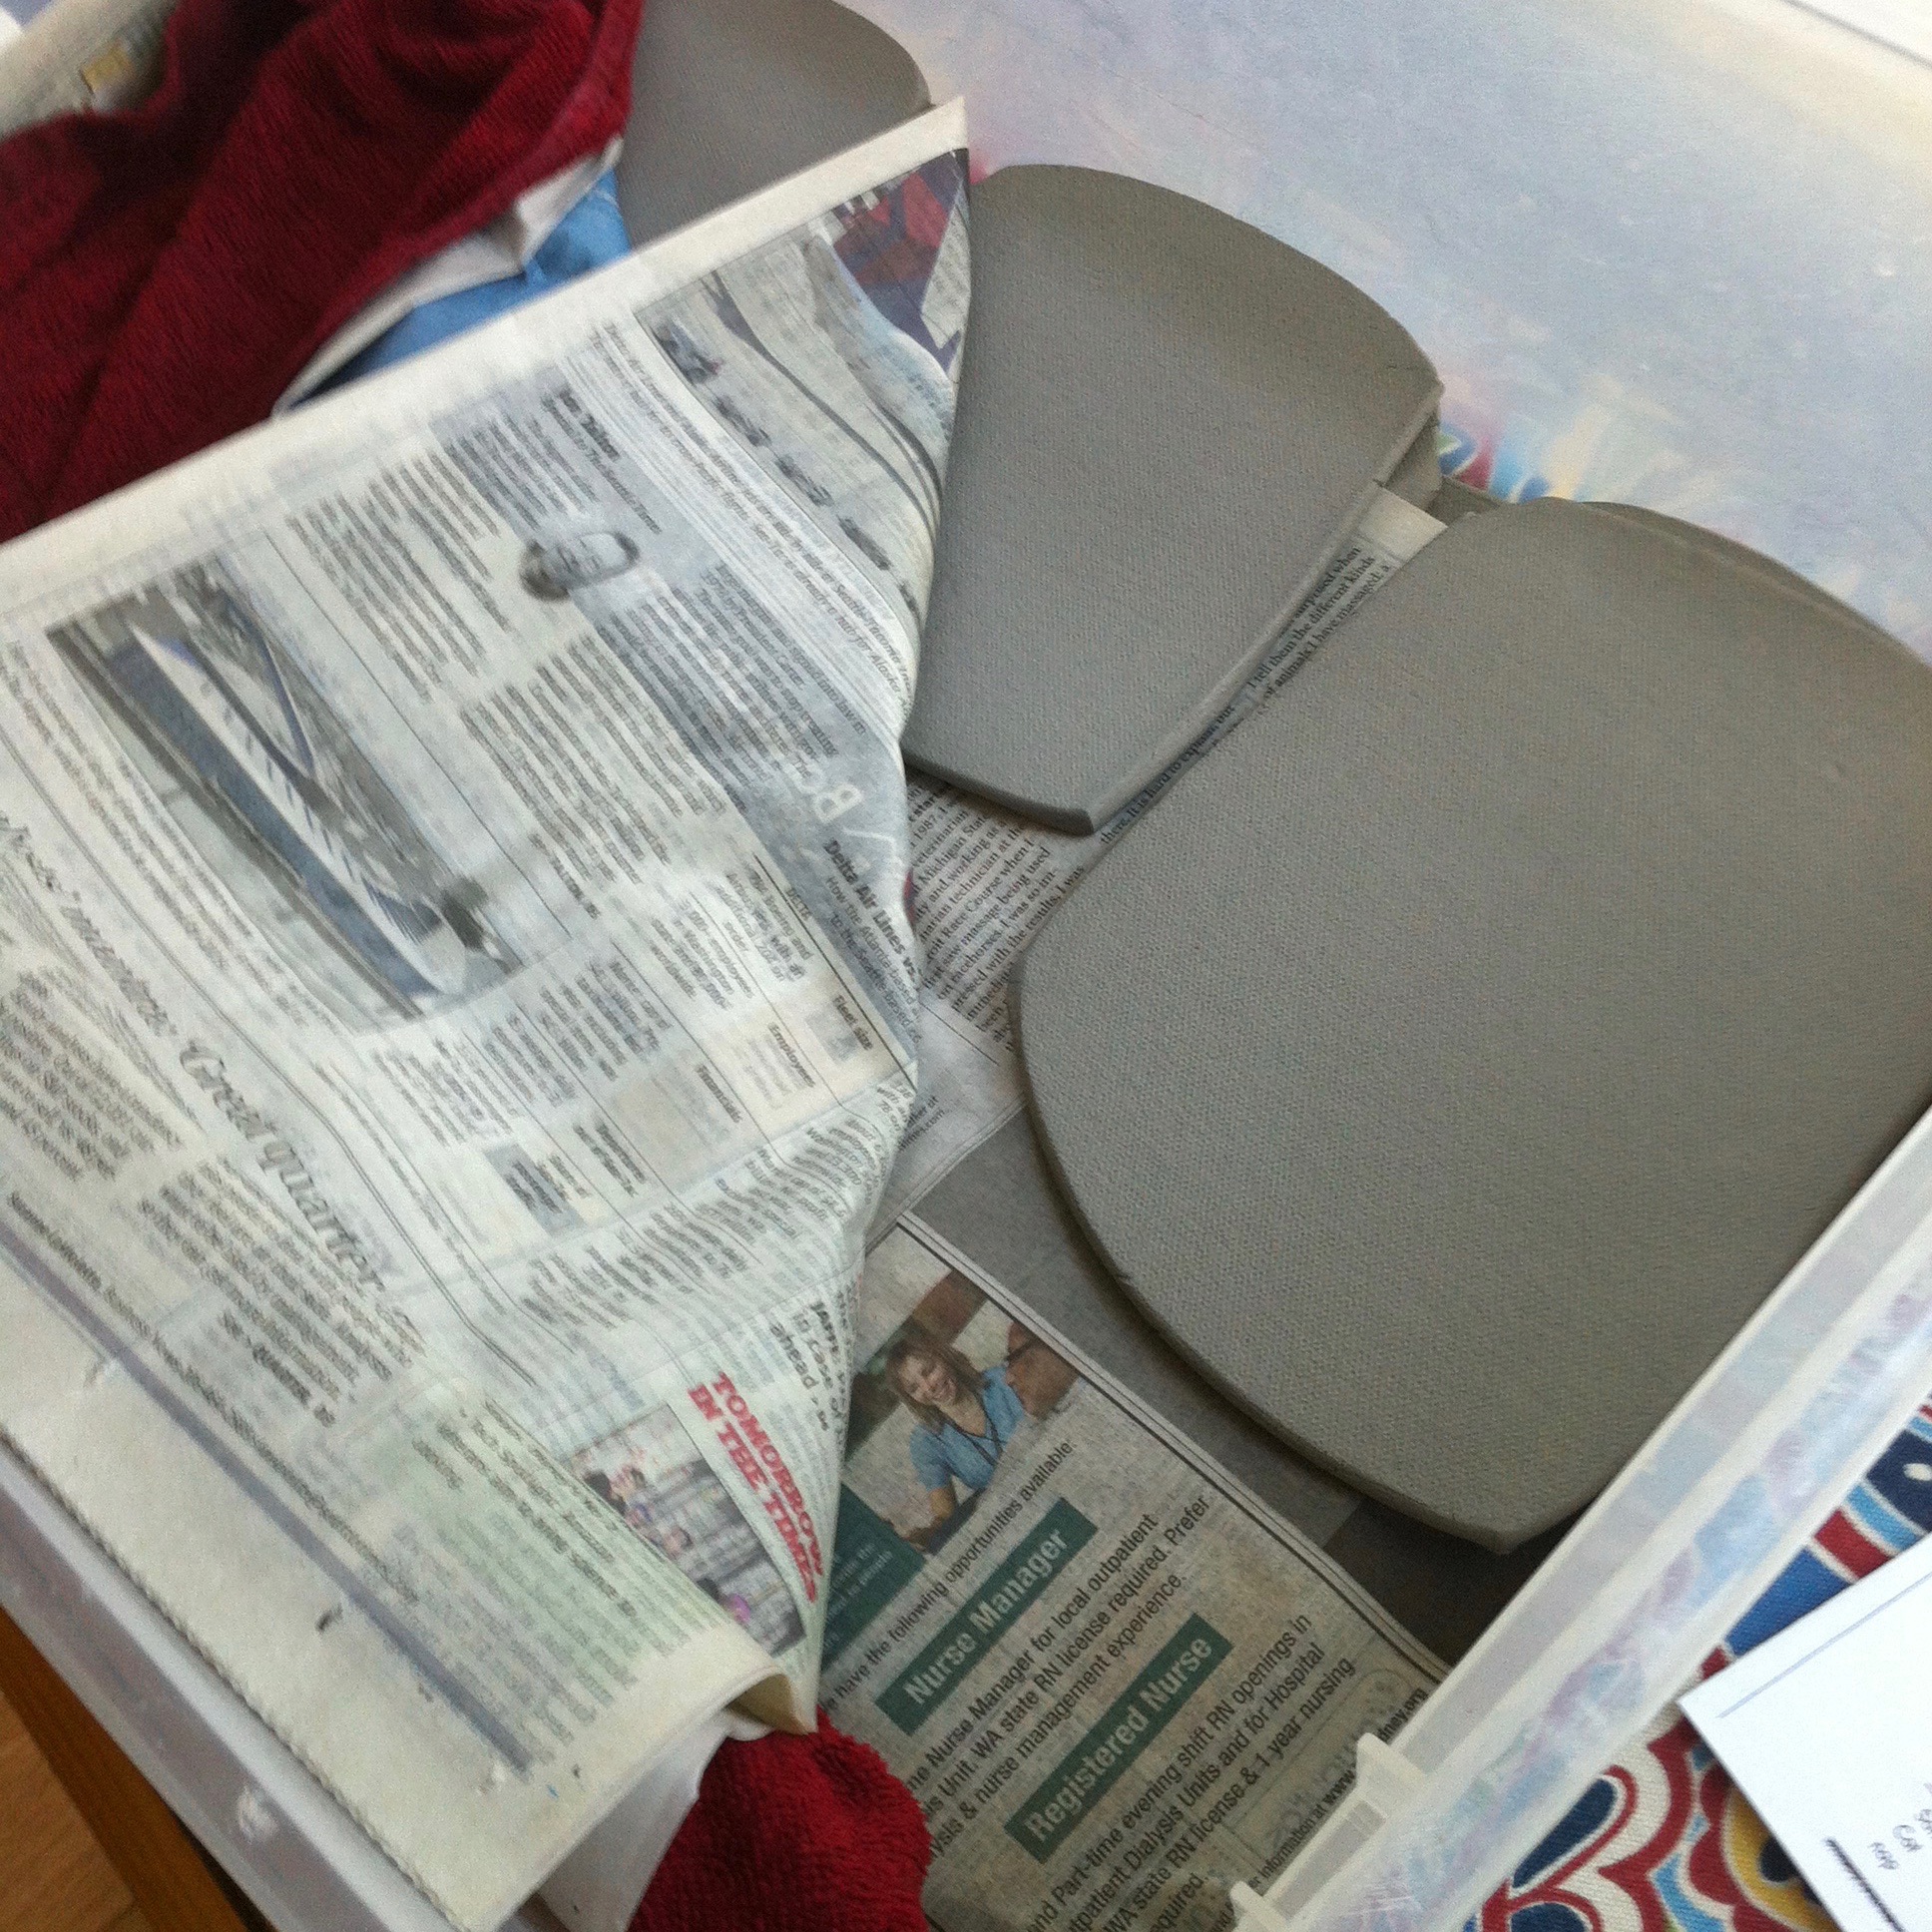
I used a multi-slab cutter to cut the 25lb block of clay into 25 slabs. You can also use a wire cutter if that’s what you have. The slab cutter makes it go so much faster. For kinders I pre-roll the clay to 3/8″ thick using this portable slab roller. Clay thickness should stay between 1⁄4” – 1⁄2”. If too thin it will crack apart. If too thick it may explode in the kiln. The slabs should be roughly the size of an adult hand to start. Older children can roll their own clay using a rolling pin, being sure to not roll it out thinner than a pencil. I store the clay slabs between sheets of newspaper in a large plastic container for up to a week until ready to use, just keep a damp cloth on the top layer on top of a sheet of newspaper to keep it from drying out.
 Place clay and a paper towel at each work area per student. Paper towels are used to keep the clay from sticking to the table.
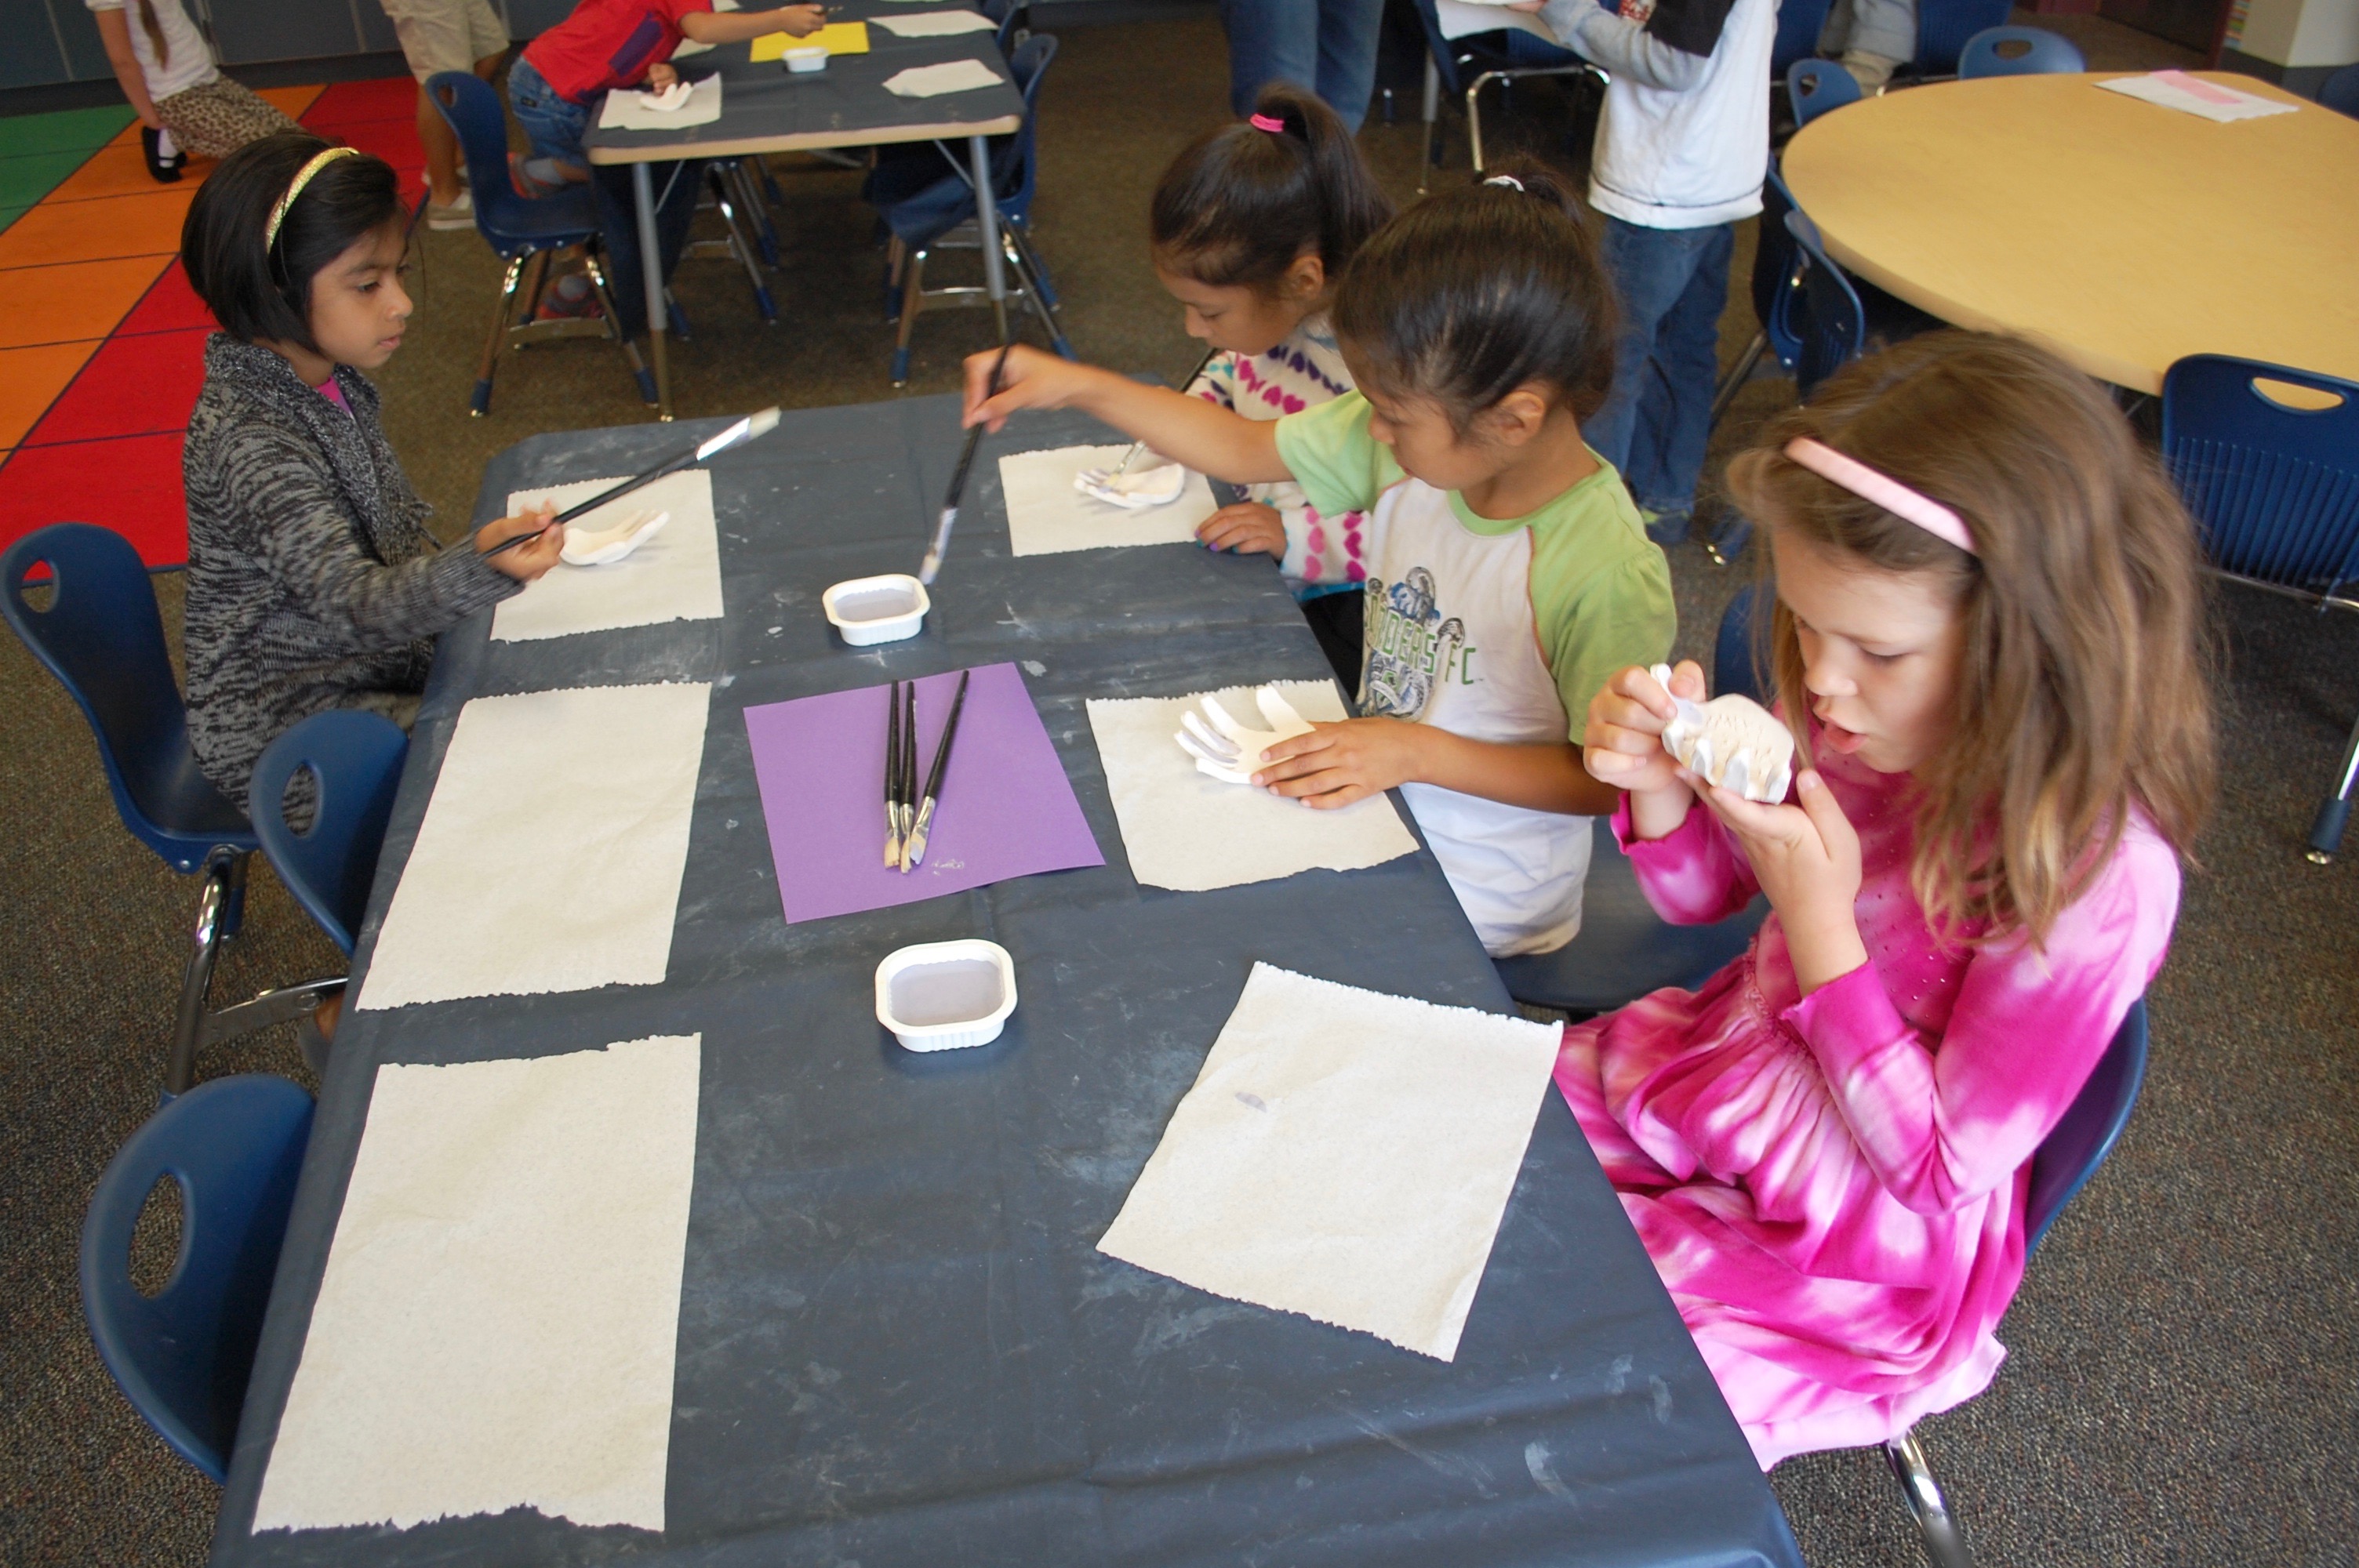
Parent volunteers and I helped to trace the children’s hands onto the slab lightly using the wooden modeling tool. Then use the plastic knife to cut out the hand shape. Rounding off fingers last. They then, drew a heart in the middle of the hand (some asked for help drawing the heart). We made these coil snails with the leftover clay from the hand prints.
Children smooth out the edges using a small amount of water to make the clay as smooth as possible. I always encourage the children to use only one finger dipped into water at a time, this keeps the clay fro turning into soupy mud.
Write child’s name and year on the bottom of the hands, then set them into a cereal bowl to dry. This project took 1 week to dry.
Fire hand prints following clay manufacturers specifications. We fire on Cone-06, medium speed.
Glazing
After the ceramics are fired and cooled to room temperature they can be glazed. Glazing is the coloring part of ceramics. This paint like substance is applied to the surface of the bisque ware with a paint brush. Colors can be mixed to make other colors. Students can make elaborate designs, patterns and pictures or can keep it simple.
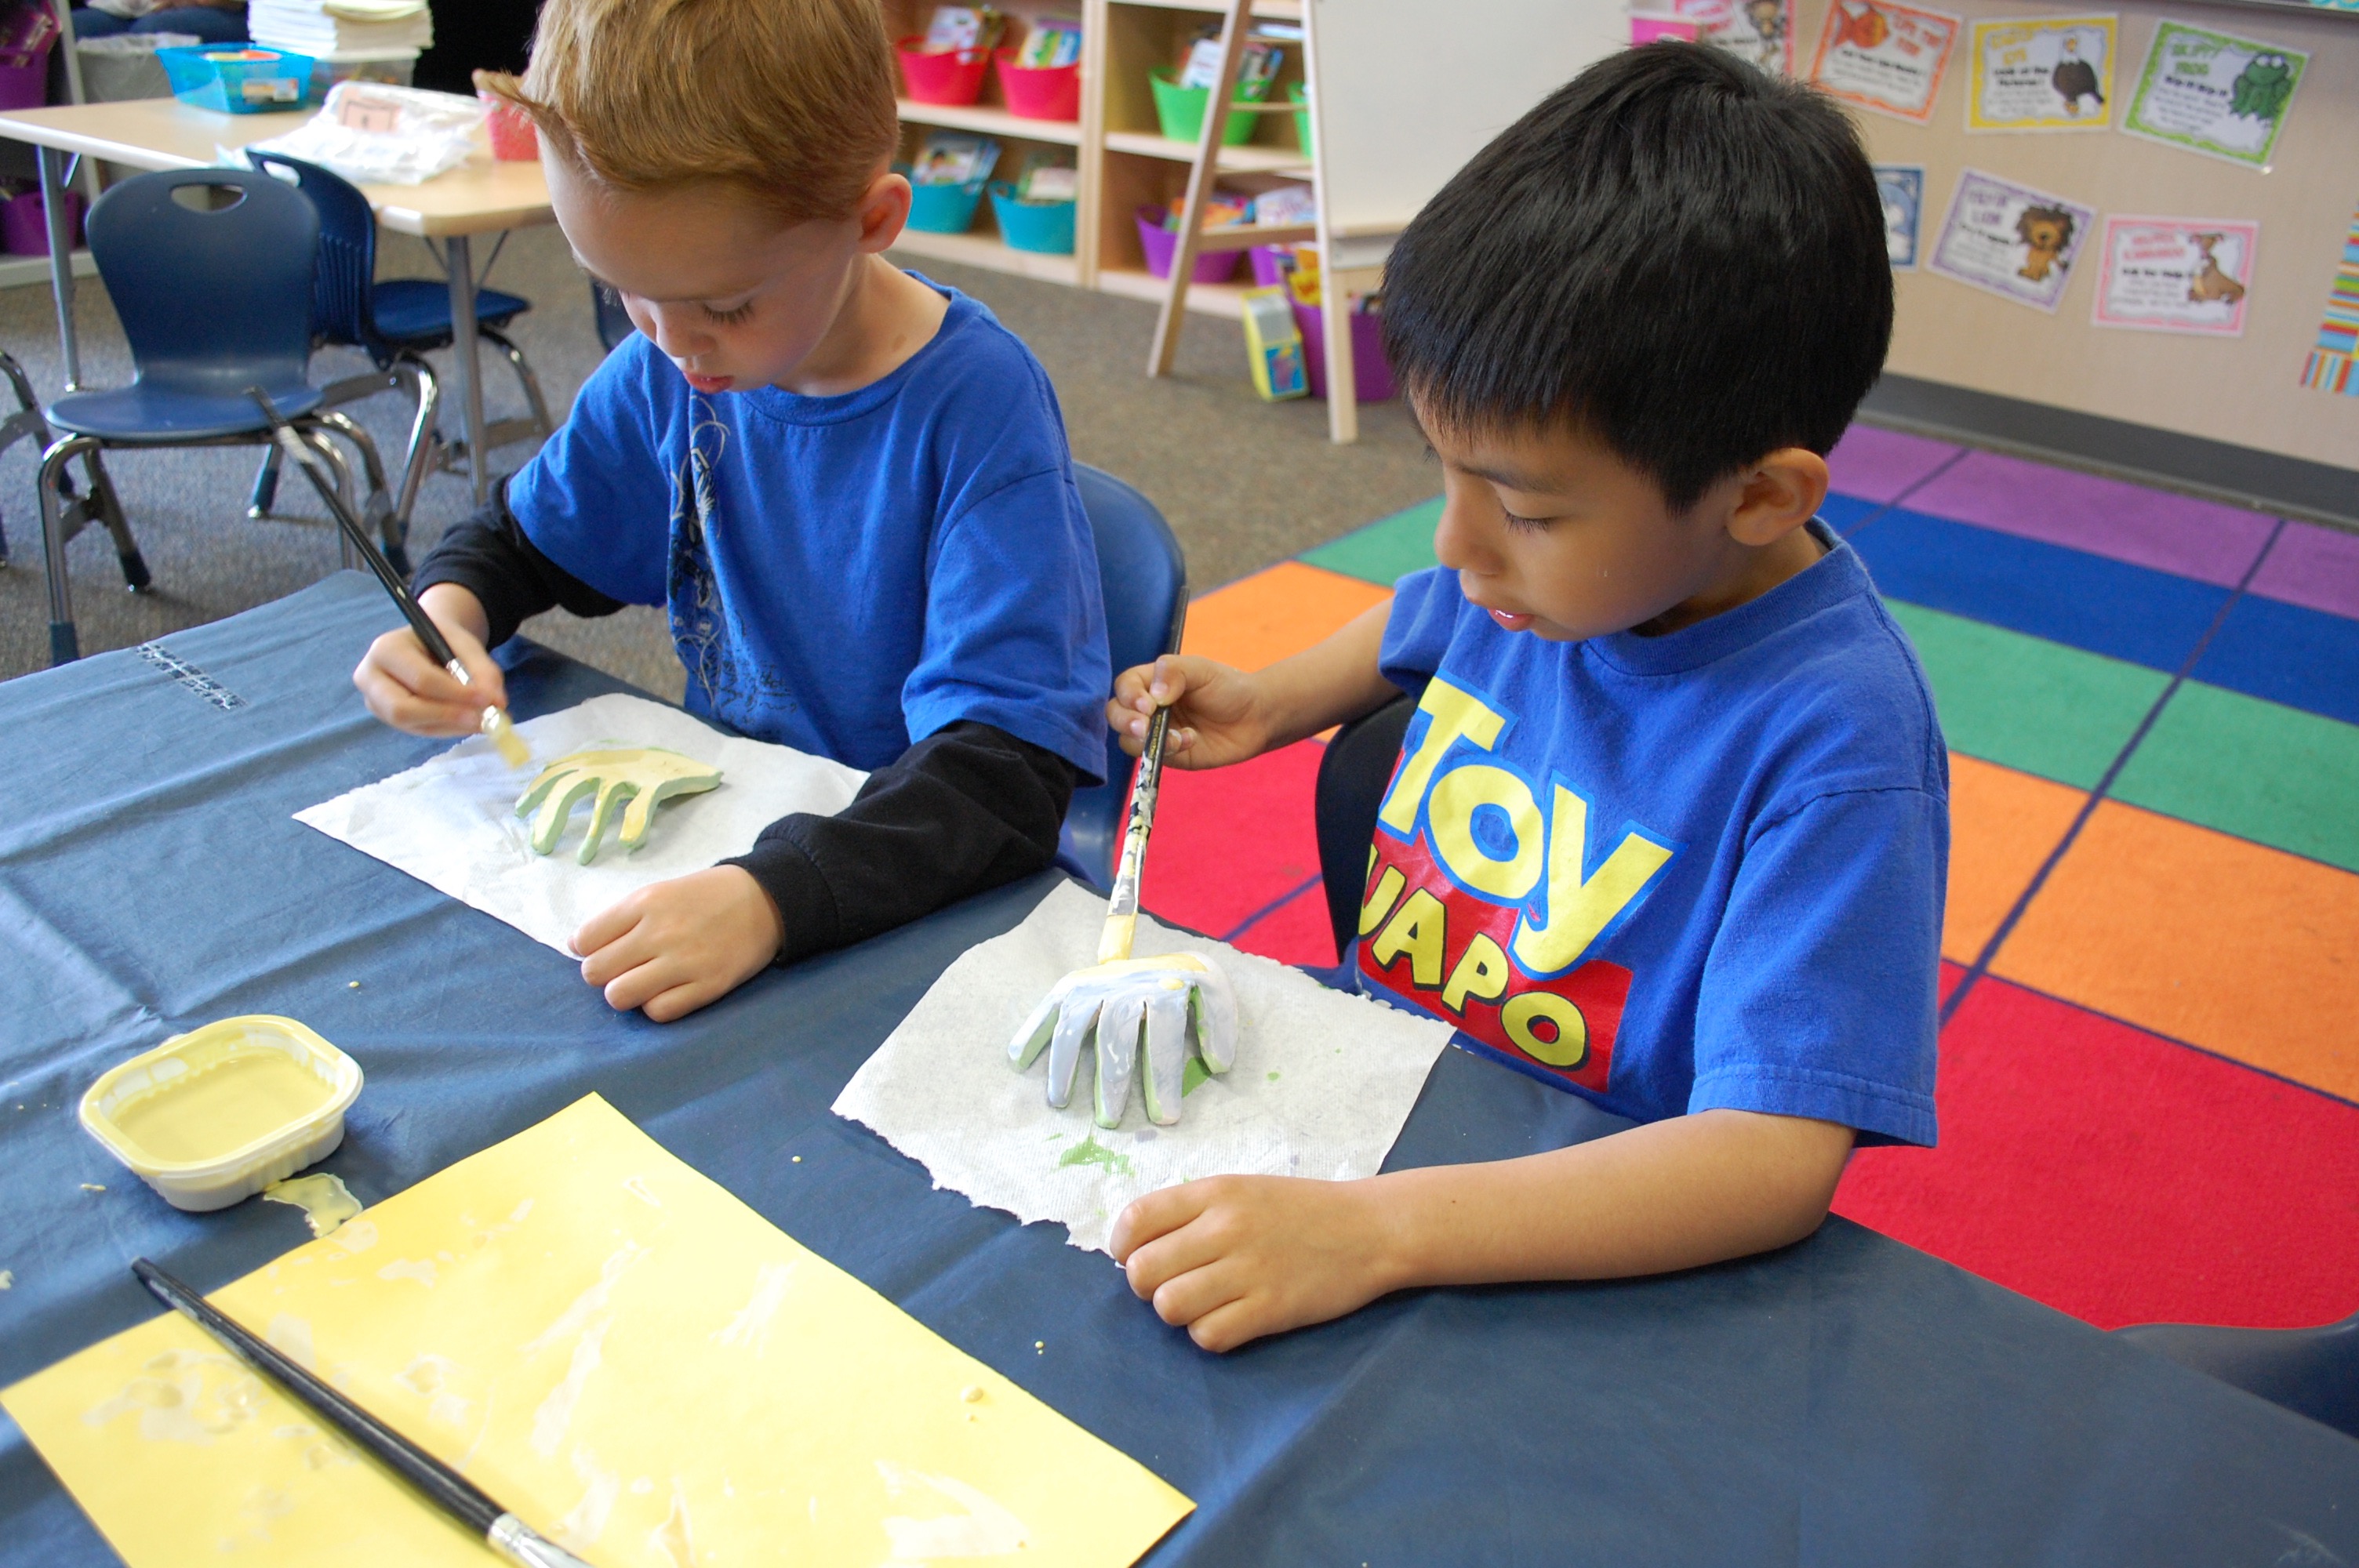
Place several brushes in each bucket of glaze and set them out around the tables, have students carefully pick up their ceramic project, leaving the brush in the container, and move to their next color choice. Alternatively, use small cups to dispense the glaze. Put 1 tablespoon of glaze in cup at a time. Additional glaze can be added in small amounts.
A second coat may be applied for more vibrant color.
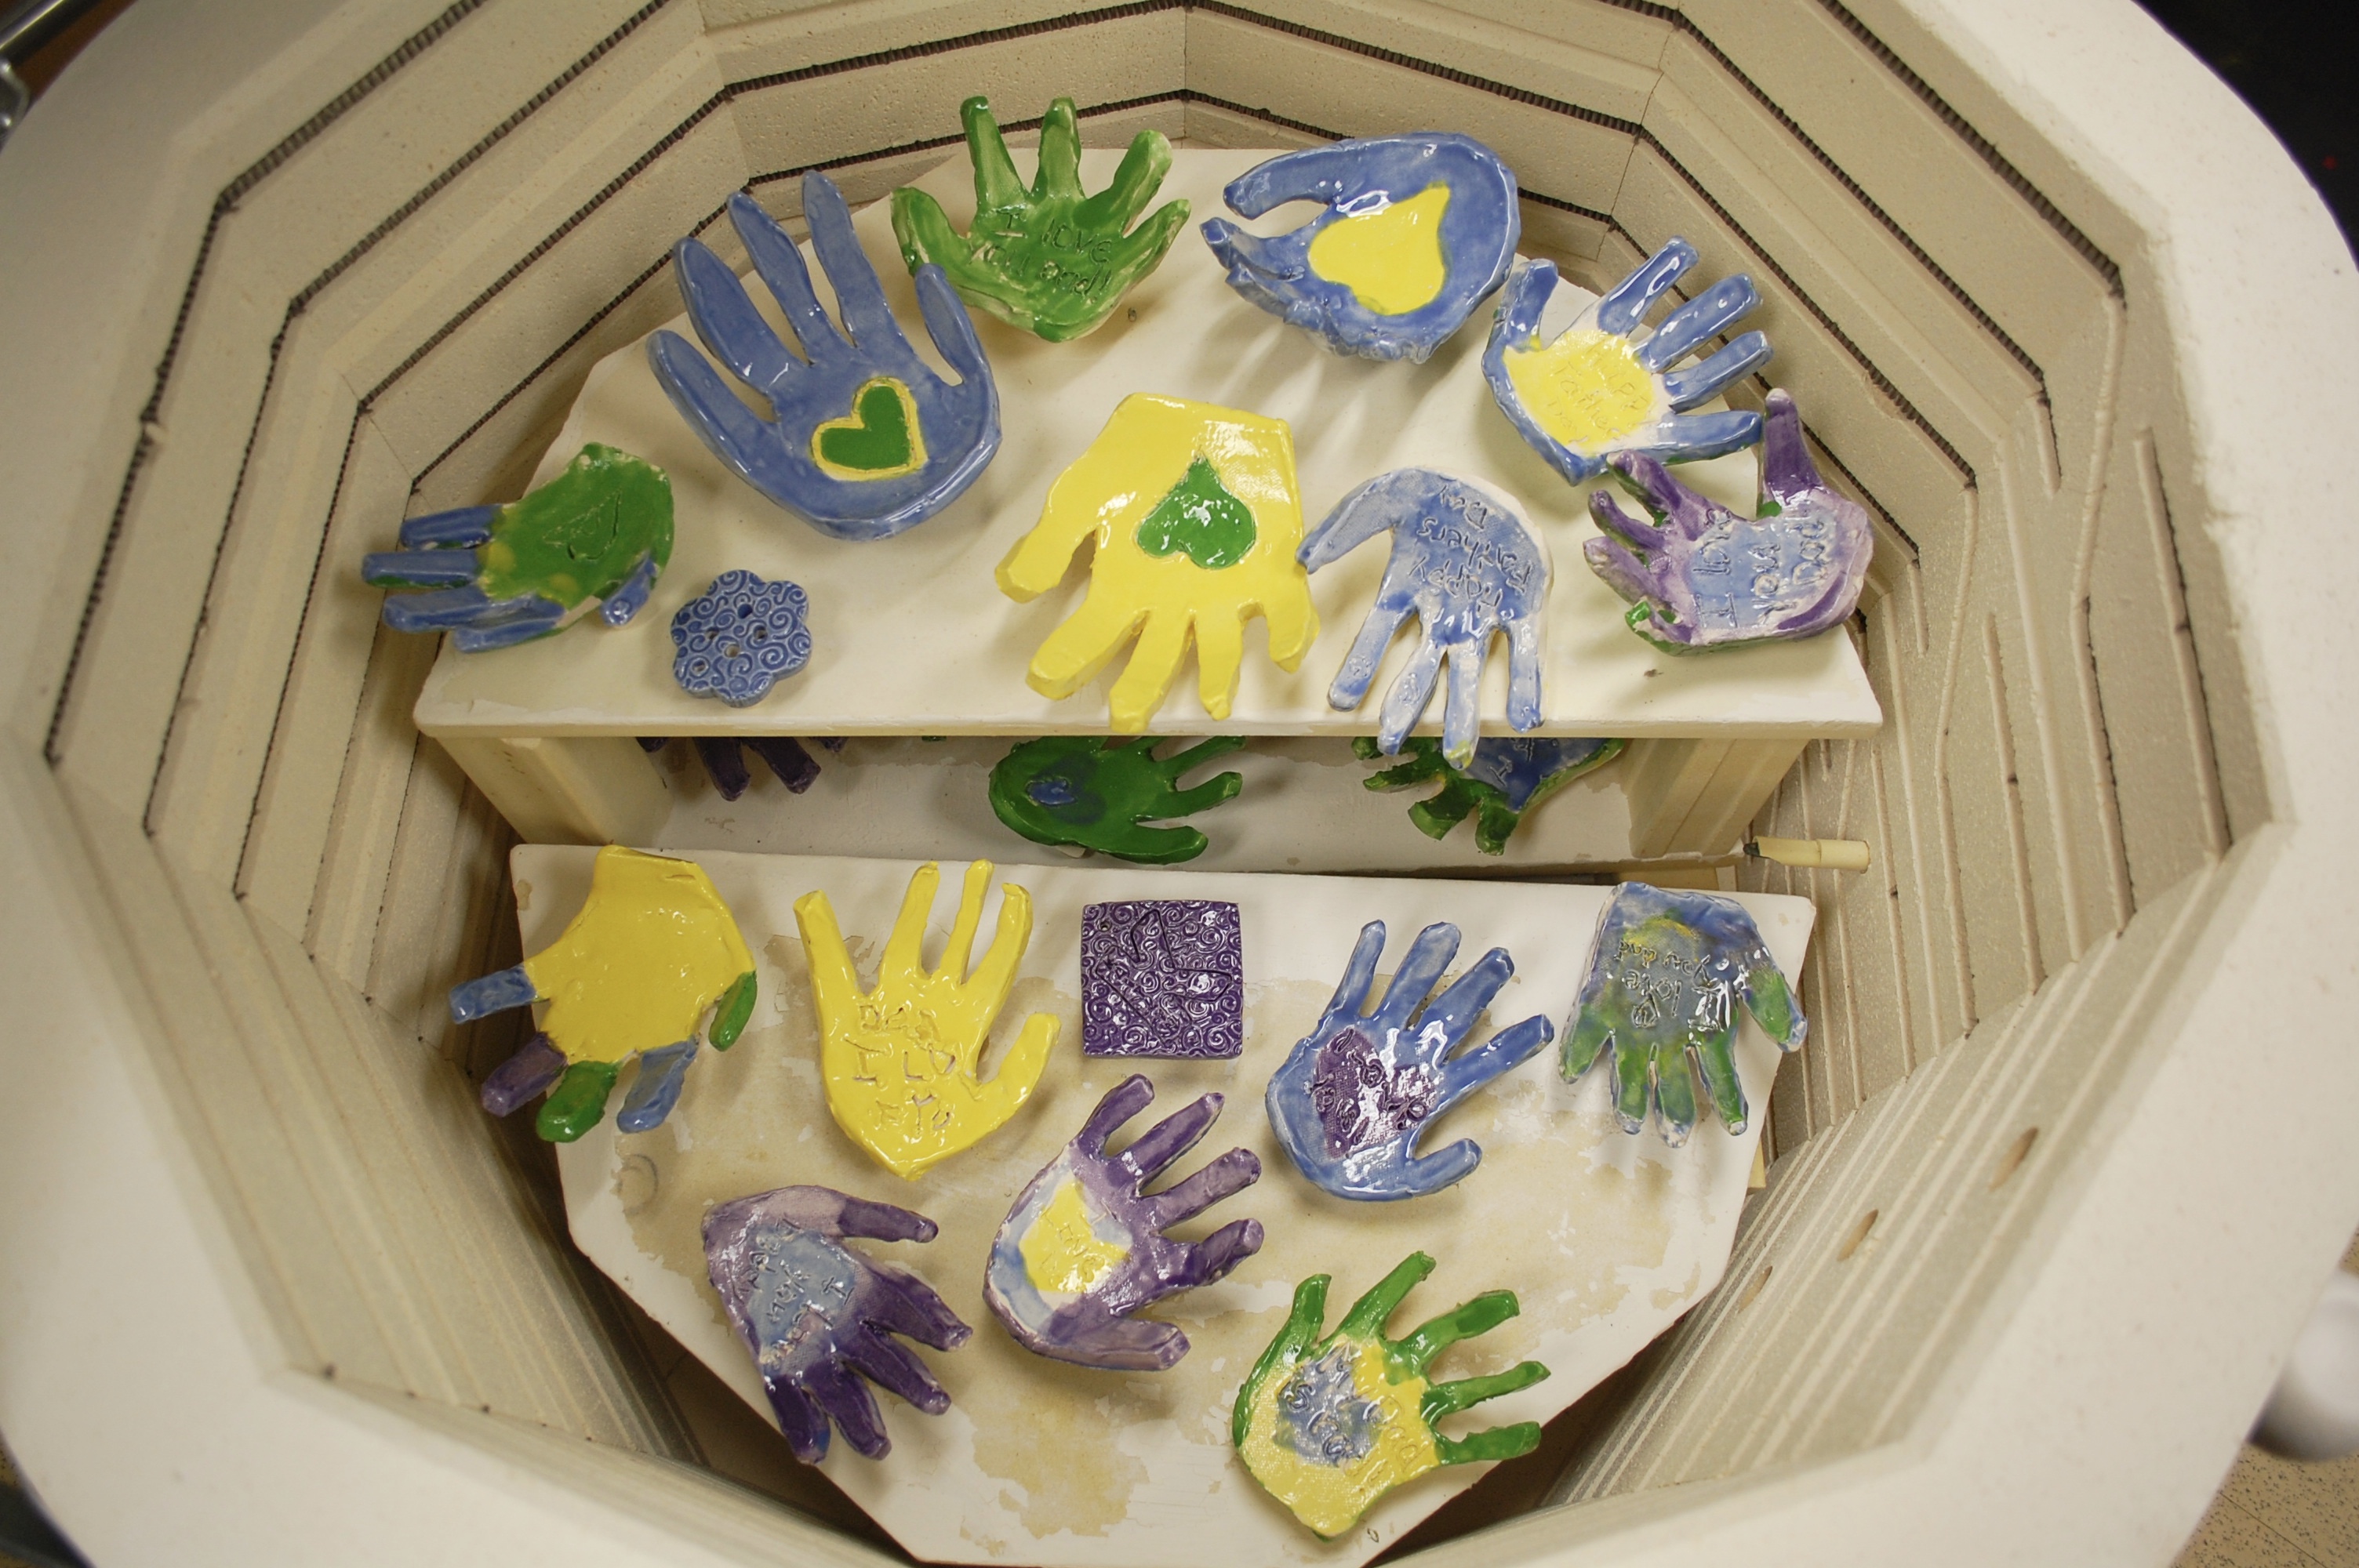
Fire ceramics one final time, and then they’re done! The kids always get a kick out of how bright and shiny their ceramics turn out.